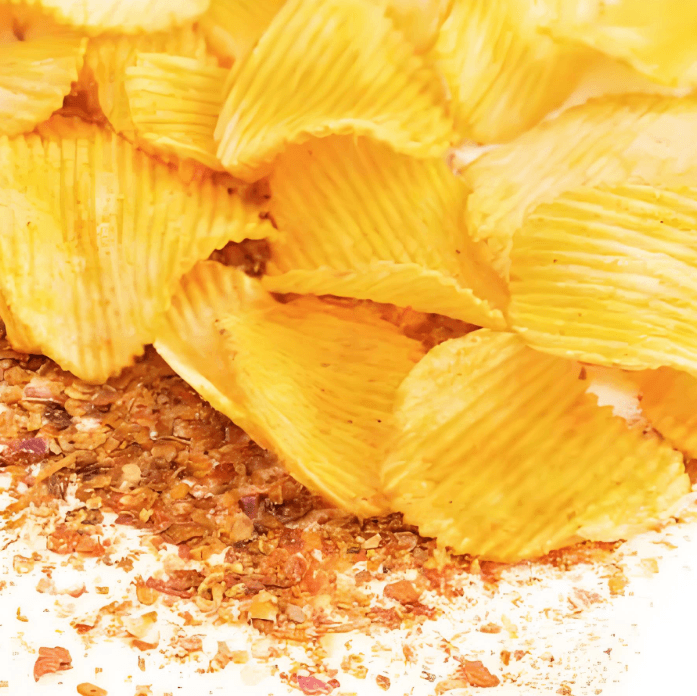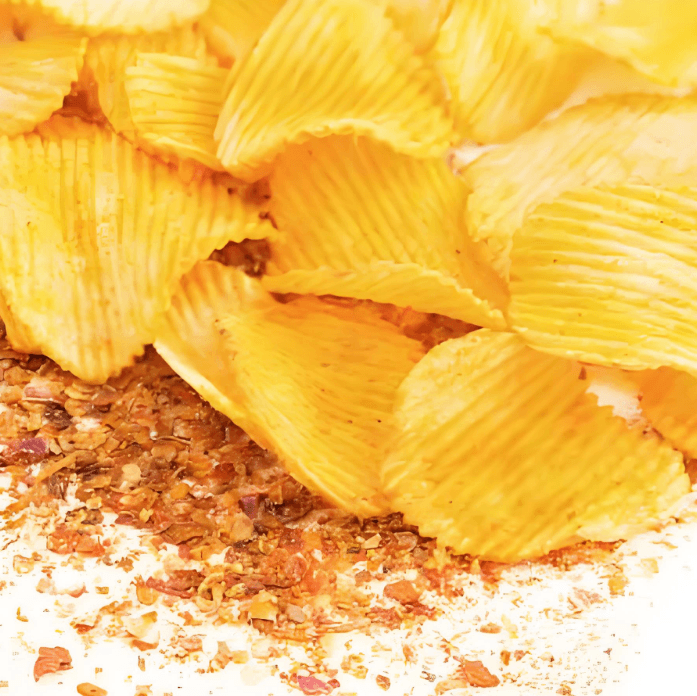
Corn flakes are a breakfast staple enjoyed worldwide. While the recipe appears simple—corn, malt, sugar, and salt—the manufacturing process is a delicate balance of food science, engineering, and sensory precision. Producing a batch that is crispy, flavorful, and structurally sound requires careful control at every stage. Here are the top ten critical considerations for crafting great cereal corn flakes.
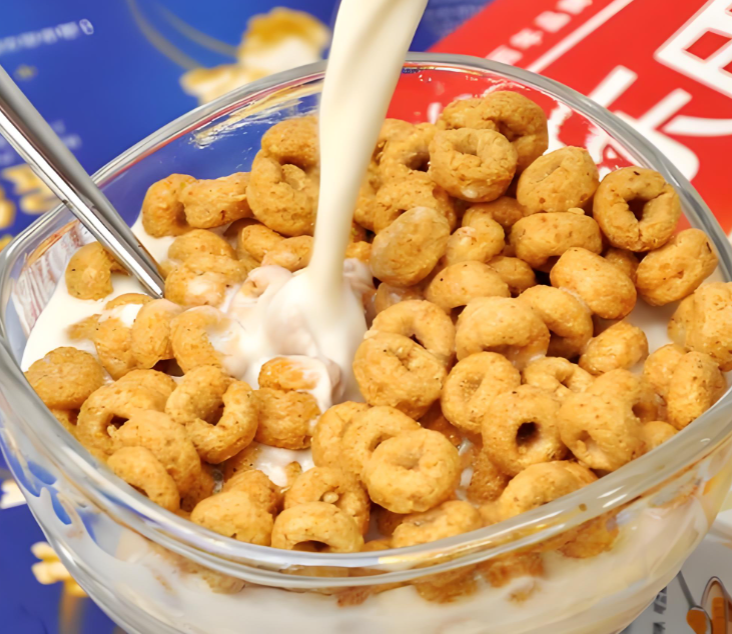
1. Raw Material Quality (The Corn Grist)
The foundation of any great corn flake is the corn itself. Manufacturers typically use “food-grade” dent corn or specially bred flaking corn. The key parameter is the starch-to-protein ratio. Too much protein results in hard, dense flakes; too little leads to weak, powdery products. The corn must also be free from mycotoxins and have a consistent kernel size to ensure even cooking during the subsequent steps.
2. The Cooking Process (Pressure and Time)
Before flaking, the corn grits must be fully gelatinized. This is achieved by cooking them with malt syrup, sugar, and salt under pressure in a rotary cooker. The goal is to reach 100% gelatinization of the starch. Under-cooking leaves hard, gritty particles, while over-cooking creates a sticky, unmanageable mash. Typical conditions hover around 15–20 psi for 1.5 to 2.5 hours, depending on the batch size.
3. Moisture Content Post-Cooking
After cooking, the tempered corn must have a precise moisture level—usually around 20–24%. This moisture is not just for texture; it acts as a plasticizer, allowing the starch polymers to become flexible. If the moisture is too low, the corn dries out and crumbles during drying. If it’s too high, the flakes will stick together in the next stages and won’t toast properly.
4. Tempering (Resting Time)
Tempering is the often-overlooked “resting” period after cooking and before flaking. The cooked corn is transferred to holding bins and left to equilibrate for 4 to 6 hours. During this time, moisture redistributes evenly from the surface to the center of each grit. Skipping or shortening this step creates a moisture gradient, leading to uneven flaking and inconsistent expansion during toasting.
5. Flaking Roll Gap and Pressure
The flaking rolls are the heart of the physical shaping process. Two large, chilled cast-iron rollers squash the tempered grits into thin flakes. The roll gap (usually set between 0.2 and 0.4 mm) determines the final thickness of the flake. Even more critical is the hydraulic pressure applied to the rolls. Insufficient pressure yields thick, hard flakes; excessive pressure crushes the starch granules, destroying the flake’s ability to puff later.
6. Drying (The First Toasting Stage)
After flaking, the wet sheets of corn must be dried to a moisture level of roughly 12–14% before the final toast. This is done in a large, forced-air dryer at moderate temperatures (around 100–120°C). The primary goal here is não browning, but strength. Drying removes surface moisture so the flakes become brittle enough to handle without breaking, while setting the physical structure for the final expansion.
7. The Toasting Profile (Time-Temperature Curve)
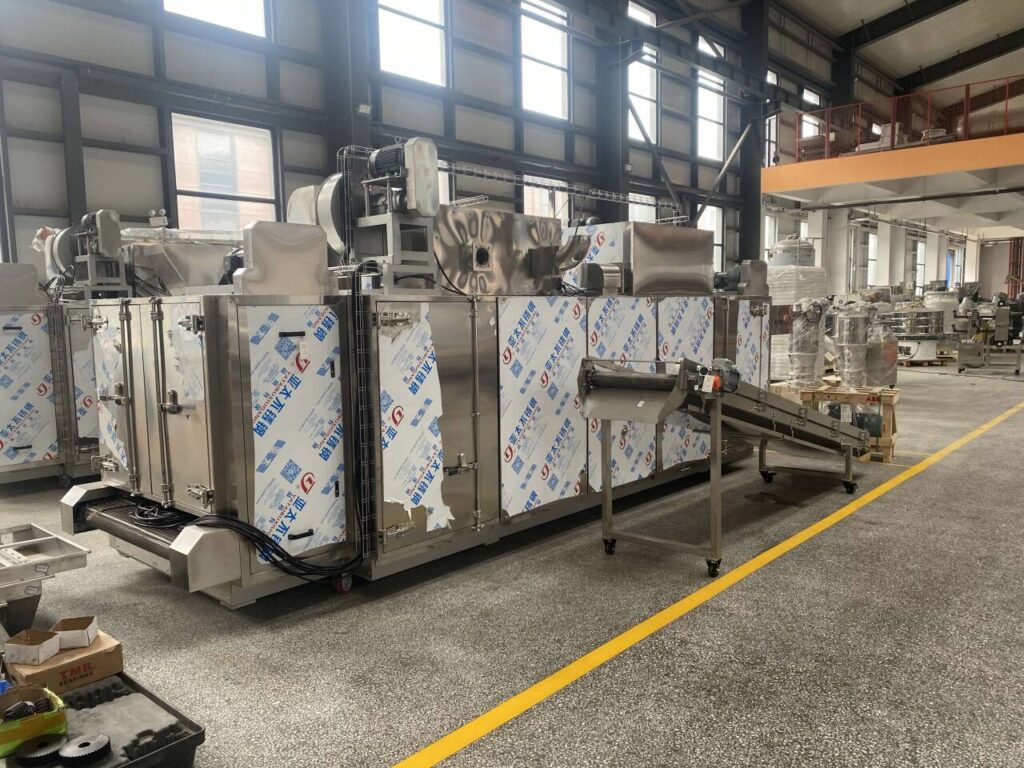
This is where corn flakes get their signature golden color, crunchy texture, and roasted corn flavor. Toasting occurs in a high-velocity, hot-air oven at temperatures ranging from 250°C to 330°C for just 2–4 minutes. The critical factor is the rate of heat transfer. Rapid, high-heat toasting causes the remaining internal moisture to turn into steam, expanding the starch matrix (puffing) and creating a porous, crispy structure. A slow toast results in stale-tasting, tough flakes.
8. Sugar and Maltose Caramelization
The color and flavor of a great corn flake are not just from the Maillard reaction (between proteins and sugars), but also from controlled caramelization of the added sucrose and maltose. The toasting must be managed to achieve a L* value (lightness) of roughly 65–70 on the colorimeter. If the temperature spikes, the sugars burn, creating bitter, acrid notes; if it’s too low, the flakes remain pale and doughy.
9. Enrobing (Vitamin and Flavor Spraying)
After toasting, the flakes are fragile but still hot. This is the stage for applying liquid sprays—typically a fine mist of vitamins (B-complex, iron, and folic acid) and sometimes a secondary sugar solution for sweetness. The critical consideration here is uniform droplet size e atomization pressure. Uneven spraying creates flakes with “hot spots” of sugar that taste overly sweet in one bite and bland in another, while inconsistent vitamin application leads to regulatory non-compliance.
10. Packaging and Moisture Barrier
The final—and most destructive—enemy of a great corn flake is moisture absorption. A crispy flake has a water activity (aw) below 0.4. Packaging must provide an absolute barrier against ambient humidity. This means using high-barrier films (metallized PET or foil-laminated structures) and flushing the package with inert nitrogen to displace oxygen. Furthermore, the packaging line must be climate-controlled, as even a 2% increase in moisture content post-toasting will turn a crisp flake into a leathery, chewy disappointment within days.
Conclusão
Making great corn flakes is an exercise in precision engineering and chemical timing. From selecting the right corn variety to locking in that final crispness with a flawless moisture barrier, every step is interconnected. Neglecting any one of these ten considerations doesn’t just affect one attribute—it cascades through the entire production line, altering taste, texture, and shelf-life. In the world of breakfast cereals, perfection is found not in complexity, but in impeccable control over these fundamental variables.