Canine Cuisine: A Comprehensive Introduction to Dog Food
Dog food is far more than just a bag of crunchy bits or a can of savory stew; it is a scientifically formulated cornerstone of modern pet care. Designed to meet the specific physiological and nutritional needs of Canis lupus familiaris, commercial dog food represents a convergence of veterinary science, agricultural economics, and food processing technology. It provides a convenient, shelf-stable, and balanced dietary solution that has liberated dogs from a reliance on raw table scraps and transformed them into long-lived family members.
What Is Dog Food?
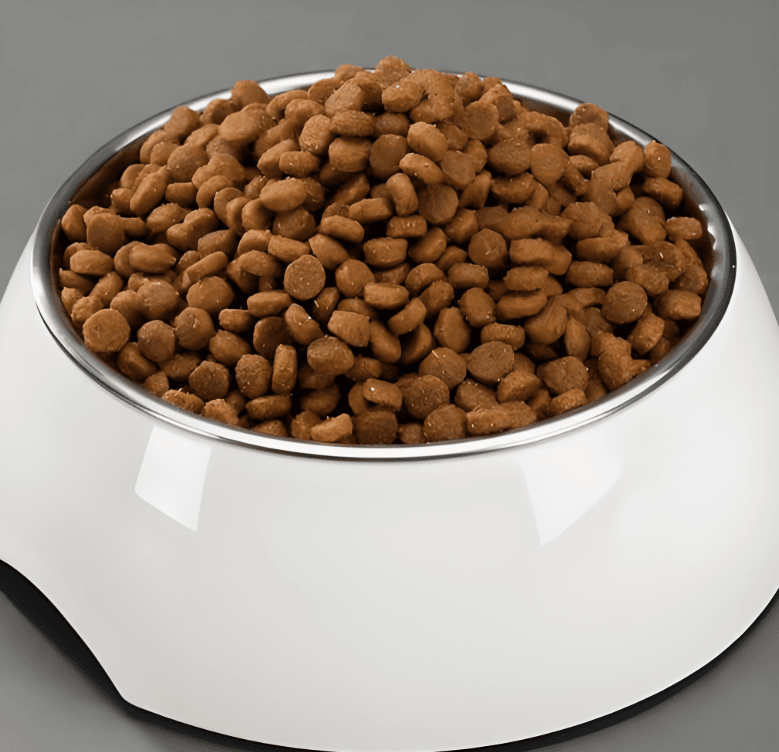
At its core, dog food is a manufactured product intended for consumption by dogs. Unlike “human food,” it is specifically engineered to deliver a precise balance of proteins, fats, carbohydrates, vitamins, and minerals in every bite. It is regulated by national and international bodies—such as the AAFCO (Association of American Feed Control Officials) in the United States—which establish strict nutritional profiles to ensure that a product labeled as “complete and balanced” can sustain a dog’s life without the need for additional dietary supplements.
The Main Categories
The modern market offers a diverse array of formats, each suited to different lifestyles, budgets, and canine preferences:
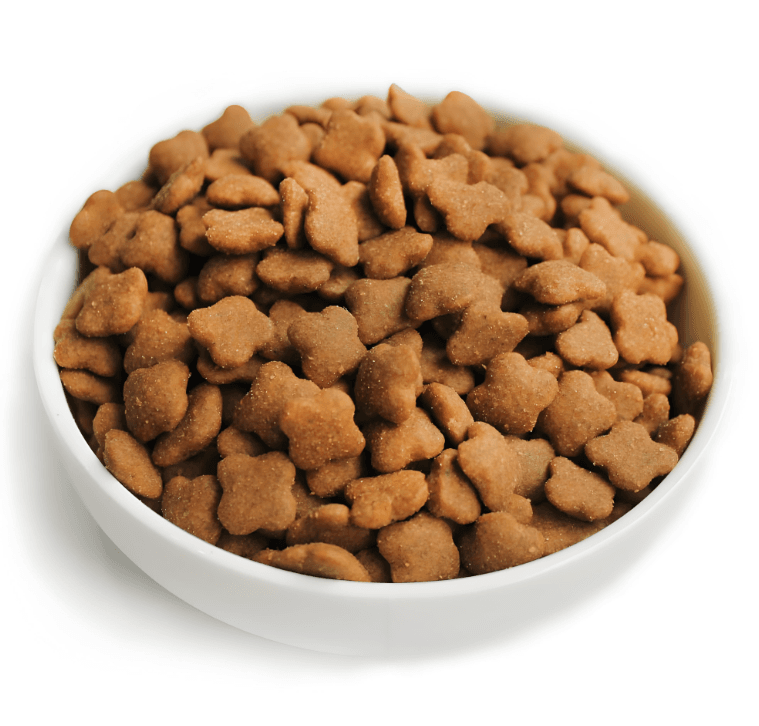
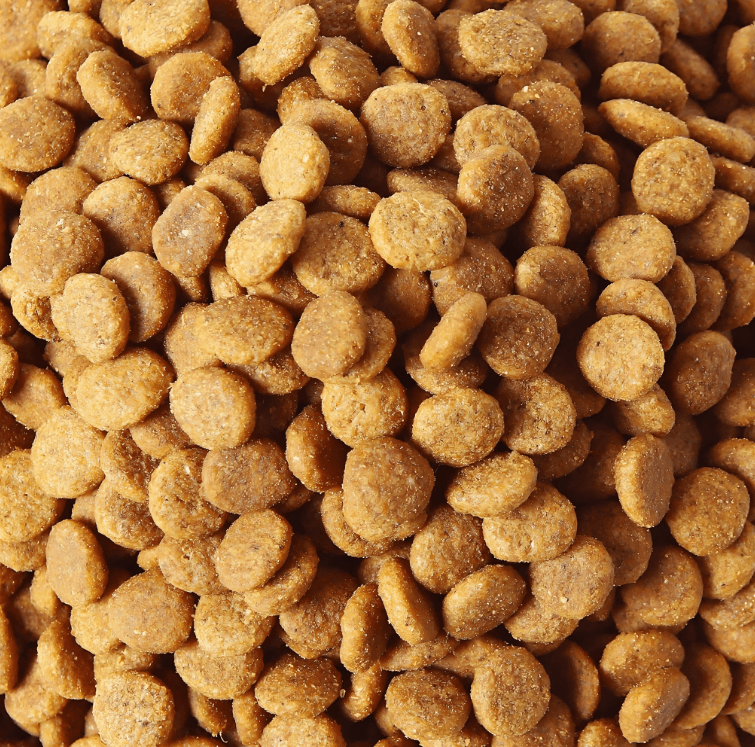
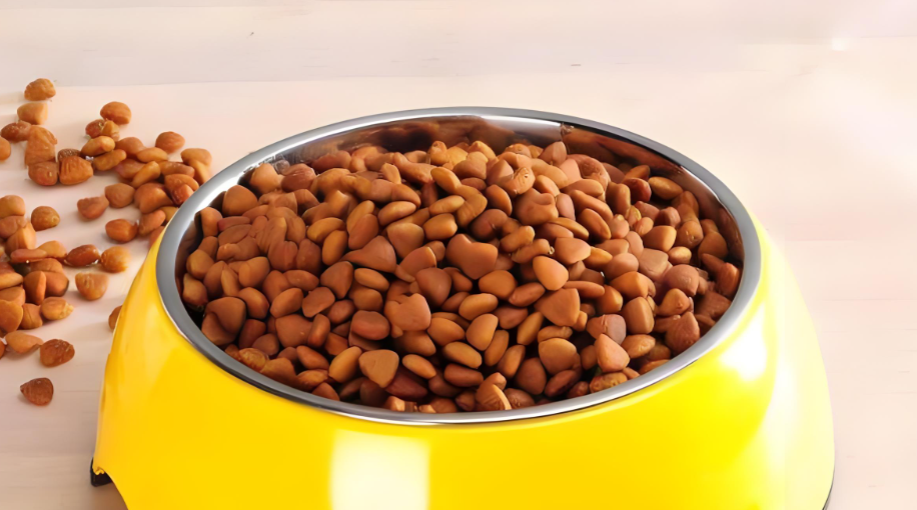
- Dry Kibble (Extruded Food): The most popular and economical option. Made through the extrusion process described previously, dry food boasts a long shelf life, promotes dental health through abrasive chewing, and offers high caloric density for active dogs.
- Wet/Canned Food (Retort Food): Characterized by a high moisture content (up to 78%). It is highly palatable, easier to chew for senior or dental-compromised dogs, and helps maintain hydration. However, it is more expensive per calorie and requires refrigeration after opening.
- Semi-Moist Food: Often found in pouches or chubs, these products contain a moisture level between dry and wet food. They are soft and convenient but often contain higher levels of sugars, salts, and humectants to maintain their texture.
- Dehydrated and Freeze-Dried Raw Food: A premium segment that aims to mimic a raw “ancestral” diet. These products preserve raw meat and vegetables by removing moisture without high heat, preserving natural enzymes and flavors. They must be rehydrated with water before serving.
The Nutritional Blueprint
A high-quality dog food is defined by its ingredient profile and nutrient analysis. The primary components include:
- Animal Protein: Sourced from chicken, beef, fish, lamb, or plant-based alternatives. Protein provides essential amino acids for muscle maintenance, immune function, and coat health.
- Fats and Oils: Typically from chicken fat, fish oil, or flaxseed. They provide essential fatty acids (like Omega-3 and Omega-6) for skin health, cognitive function, and a shiny coat, while also serving as a concentrated energy source.
- Carbohydrates and Fiber: Grains (rice, oats, barley) or legumes (peas, lentils) provide quick energy and dietary fiber for digestive health.
- Aditivos funcionais: Modern formulations often include probiotics, glucosamine, chondroitin, and antioxidants to support joint health, gut flora, and longevity.
A Historical Perspective
Before the 1860s, dogs primarily subsisted on raw meat, scraps, and hand-fed porridge. The commercial industry was born when James Spratt, an American electrician, created the first “dog biscuit” in London after observing stray dogs eating discarded hardtack biscuits. The 20th century saw the rise of canned horse meat during World War II and the post-war explosion of dry extrusion technology, which allowed manufacturers to utilize a wider range of agricultural co-products and create durable, affordable food. Today, the industry is undergoing a “humanization” revolution, where terms like “grain-free,” “natural,” and “limited ingredient” are increasingly prominent.
Choosing the Right Food
Selecting the appropriate product is not about the most expensive bag on the shelf; it is a biological match. Key considerations include:
- Life Stage: Puppies require higher calories and specific calcium/phosphorus ratios, while seniors need lower calories and joint-supporting additives.
- Breed Size: Large-breed dogs need controlled calcium levels to prevent rapid growth disorders, whereas small breeds require smaller kibble sizes to prevent choking.
- Health Conditions: Dogs with allergies may benefit from limited-ingredient diets or novel proteins (e.g., venison or duck).
Safety and Shelf Life
Commercial dog food is held to rigorous safety standards. Dry kibble typically has a shelf life of 12 to 18 months when stored in a cool, dry place. Once opened, exposure to oxygen and humidity can lead to rancidity and nutrient degradation; thus, proper sealing is critical. Wet food, conversely, must be consumed within 2-3 days of opening and stored in the refrigerator.
Dog food is a testament to human ingenuity in extending the principles of nutrition to our four-legged friends. It bridges the gap between basic sustenance and optimal health, allowing modern dogs to thrive indoors, in apartments, and on farms alike. Whether you choose a simple dry kibble or a freeze-dried raw patty, the goal remains the same: to provide a safe, delicious, and biologically appropriate diet that enriches the life of the animal that calls you family.
Advanced Manufacturing of Dry Canine Diets: An In-Depth Technical Review of Extrusion Processing
While the concept of “cooking a meal” for a dog seems rudimentary, the industrial production of extruded dry kibble is a highly sophisticated application of food rheology, thermodynamic heat transfer, and biopolymer chemistry. This article provides a detailed, stepwise technical examination of the complete manufacturing chain—from raw material handling to finished product stabilization—with a focus on the critical control points that dictate nutritional bioavailability, physical texture, and microbiological safety.
Phase I: Raw Material Intake, Cleaning, and Particle Size Reduction (Grinding)
The manufacturing cycle commences with the delivery and storage of macro-ingredients. Bulk solids (cereal grains, oilseed meals, and rendered animal proteins) are transferred via pneumatic conveying systems into segregated storage silos. Magnetic separators e vibratory screens are employed at the intake point to remove ferrous contaminants and foreign physical debris (e.g., stones, chaff).
The Milling Operation: Prior to batching, dry ingredients undergo a size-reduction step using a hammer mill or, less commonly, a roller mill.
- In a hammer mill, rotating beaters pulverize the material against a perforated screen. The screen aperture (typically ranging from 0.8 mm to 3.0 mm) determines the final particle size distribution.
- Technical Rationale: Reducing the particle size increases the specific surface area of the raw materials. This is mechanically critical because it:
- Facilitates uniform hydration in the pre-conditioner.
- Promotes complete starch gelatinization during extrusion by allowing heat and moisture to penetrate the granule core.
- Enhances the binding properties of the dough, reducing kibble fragility (fines) downstream.
Phase II: Precision Batching and Dry/Wet Mixing
Post-grinding, ingredients are gravity-fed into automated batching hoppers interfaced with a loss-in-weight (LIW) scaling system. This system ensures formulation accuracy to within ±0.5% of the target recipe.
The Mixing Cycle: The weighed dry fraction is discharged into a ribbon blender ou paddle mixer. Simultaneously, the liquid fraction—comprising water, steam condensate, liquid animal digests, and specific oils—is injected via spray nozzles. The mixing cycle lasts 3 to 5 minutes, producing a homogeneous, friable “mash” with a moisture content of approximately 25% to 30% (wet basis). The homogeneity of this mash is paramount; uneven fat distribution here will result in “fat spots” that oxidize rapidly during storage.
Phase III: Pre-conditioning – Thermal Hydrolysis and Starch Initiation
The mash is then fed into a dual-shaft, counter-rotating pre-conditioner. This is not merely a mixer; it is a short-time, low-shear hydrothermal reactor.
Process Variables:
- Tempo de permanência: Typically 2 to 4 minutes.
- Steam Injection: Direct injection of culinary steam (saturated at 100–110°C) elevates the mash temperature to 80°C – 95°C.
- Mechanical Agitation: High-speed paddles create a fluidized bed, ensuring every particle is coated with a thin film of moisture.
Chemical/Molecular Events:
- Starch Swelling: Limited water absorption causes amorphous regions of the starch granules to swell, initiating the disruption of crystalline structures (gelatinization onset).
- Protein Unfolding: Mild heat denatures globular proteins, exposing hydrophobic sites that improve fat-binding capacity later in the process.
- Maillard Precursor Formation: The amino-carbonyl reaction begins here, generating volatile intermediates that contribute to palatability after final cooking.
Phase IV: High-Temperature Short-Time (HTST) Extrusion
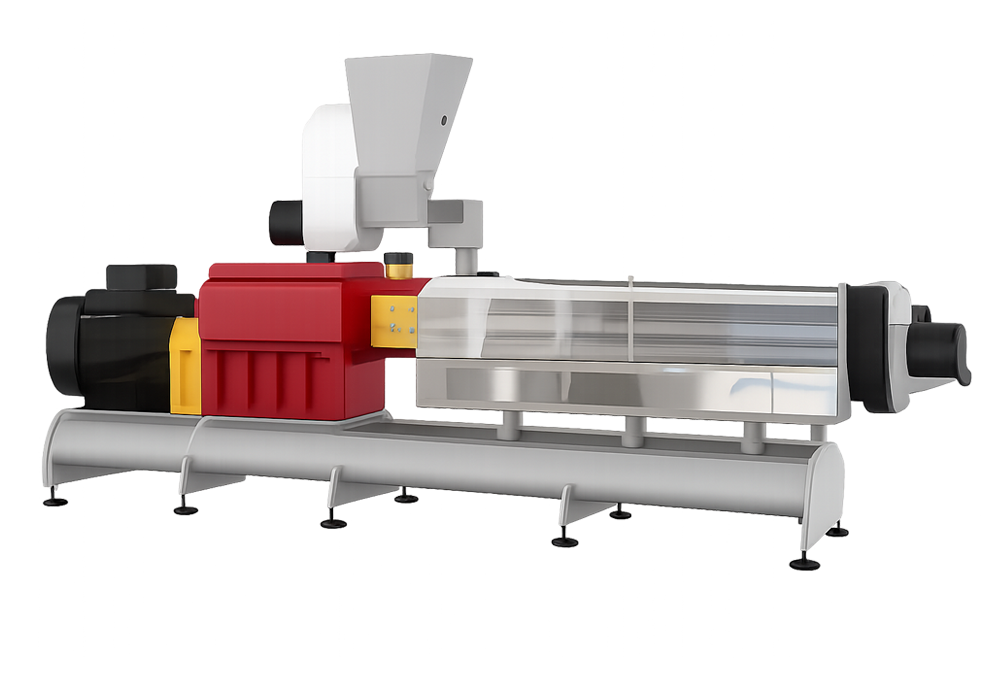
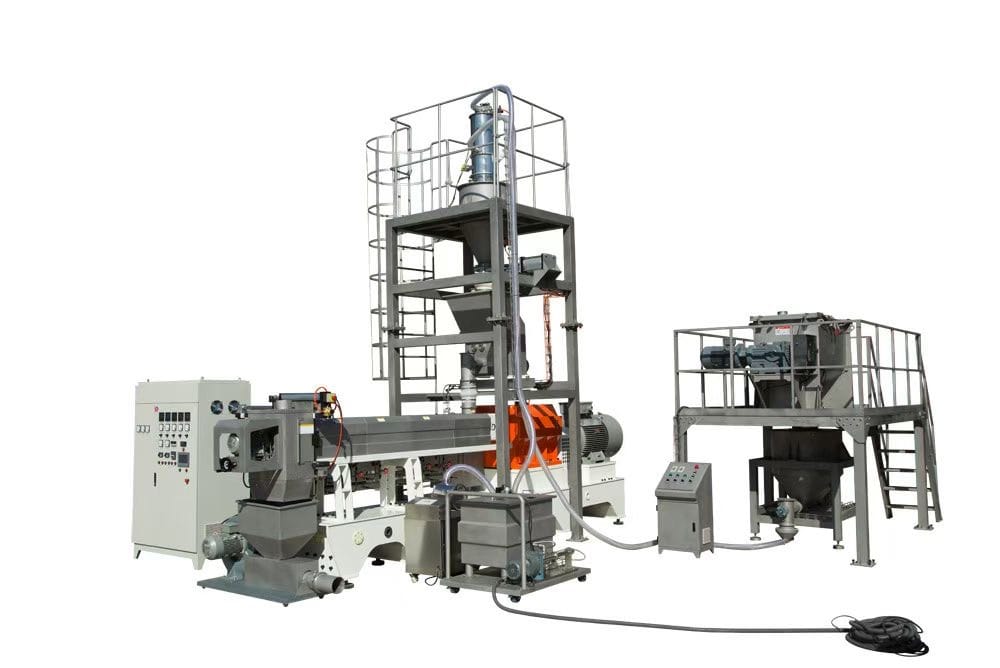
The pre-conditioned mash enters the twin-screw extruder (co-rotating or counter-rotating), which is the heart of the process. This machine is divided into three distinct functional zones along the barrel:
- Zona de alimentação: Deep screw flights convey the mash forward with minimal compression.
- Kneading/Compression Zone: Screw elements with decreasing pitch and increasing shear elements (forwarding and reversing paddles) generate intense mechanical energy. Barrel temperature is augmented via electrical resistance heaters or steam-jacketed shells, reaching 120°C to 180°C.
- Metering Zone: Shallow flights build the final pressure (up to 30–40 bar) and homogenize the molten dough.
The Extrusion Cooking Mechanism:
At these elevated temperatures and pressures, the dough transforms from a particulate solid into a viscoelastic melt. The key physicochemical transformations are:
- Complete Starch Gelatinization: The combination of water, heat, and shear disrupts intermolecular hydrogen bonds within starch granules. Amylose leaches out and forms a continuous three-dimensional gel network. Gelatinization degree typically exceeds 85–90%, which is essential for enzymatic digestibility in the canine gastrointestinal tract.
- Protein Texturization: Shear forces align denatured protein strands into fibrous aggregates, giving the kibble its final chewy or crunchy matrix.
Phase V: Die Extrusion and Expansion (The “Puff” Effect)
At the terminal end of the extruder, the melt is forced through a die plate containing specifically contoured orifices. The die geometry (land length, orifice diameter, and taper angle) governs the kibble’s cross-sectional shape and density.
Thermodynamic Flash-Off: As the extrudate exits the die and enters ambient atmospheric pressure (≈1 bar), the superheated water within the melt instantaneously vaporizes. This sudden pressure drop and evaporative cooling cause the polymer matrix to expand in a controlled manner—a phenomenon known as “die swell” or puffing. The porosity (cellular structure) of the final kibble is determined by the moisture content of the melt and the differential pressure across the die. A rotating knife assembly, synchronized to the screw speed, cuts the expanded rope into individual kibble lengths.

Phase VI: Post-Extrusion Drying – Kinetics and Moisture Migration
The freshly cut kibble emerges with a residual moisture of 20% – 28% and a glass transition temperature well below ambient. It is conveyed to a multi-pass, continuous belt dryer (often a three-zone or five-zone dryer) utilizing cross-flow or through-flow heated air.
Drying Zones:
- Zone 1 (High Heat): Inlet air at 120°C – 140°C rapidly removes surface moisture.
- Zone 2 (Tempering): Air temperature reduced to 90°C; kibble is held to allow internal moisture to migrate to the surface (diffusion-controlled phase).
- Zone 3 (Cooling): Ambient air cools the product to approximately 30°C – 35°C.
Critical Target: Final moisture content must be reduced to 8% – 10%. At this level, water activity (Aw) drops below 0.6, inhibiting the growth of spoilage organisms (bacteria, yeasts, and molds) without the need for chemical preservatives.
Phase VII: Vacuum Coating – Lipid and Palatant Application
After drying and cooling, the porous kibble is transferred to an enrobing drum connected to a vacuum system.
The Vacuum Coating Process:
- The drum is sealed, and a vacuum is applied to remove air from the pores of the kibble.
- Liquid fats (chicken fat, beef tallow, or fish oil) and palatability enhancers (hydrolyzed animal livers or meat digests) are sprayed into the drum.
- The vacuum is released. The atmospheric pressure forces the liquid deep into the porous capillary structure of the kibble, rather than merely coating the surface.
- Advantage: This “infused” coating resists oxidative rancidity better than surface coating and ensures the flavor penetrates the entire piece, not just the exterior.
Phase VIII: Quality Assurance and Extrusion Parameters Monitoring
Throughout the entire line, a Programmable Logic Controller (PLC) monitors real-time data. Key quality control checks include:
- Bulk Density and Durability: The kibble is subjected to the Pfost Tumbler Test (or similar) to determine its hardness and percentage of “fines” (breakage).
- Microbiological Assays: Post-drying samples are plated for total aerobic count, Salmonella, e Enterobacteriaceae.
- Near-Infrared Spectroscopy (NIR): Used for rapid, non-destructive analysis of moisture, protein, and fat content to validate label claims.
Phase IX: Packaging and Modified Atmosphere Packaging (MAP)
The final processed kibble is sieved to remove fines and then fed into vertical form-fill-seal (VFFS) machines. To extend oxidative stability, the bags are flushed with nitrogen gas, displacing oxygen (O₂ levels reduced to < 2%). This inert atmosphere inhibits the auto-oxidation of unsaturated fatty acids, preserving palatability and nutritional value over the typical 18-month shelf life.
Conclusão
The manufacture of dry dog food is a triumph of precision food engineering, combining chemical thermodynamics, polymer science, and automated control systems. Every stage—from the micron-level grinding of grains to the millisecond flash-off at the die—is calculated to maximize the digestibility and bioavailability of nutrients while ensuring absolute microbiological safety. Understanding these technical complexities underscores that a bag of kibble is not a simple “baked biscuit,” but a highly processed, nutritionally optimized biomaterial.
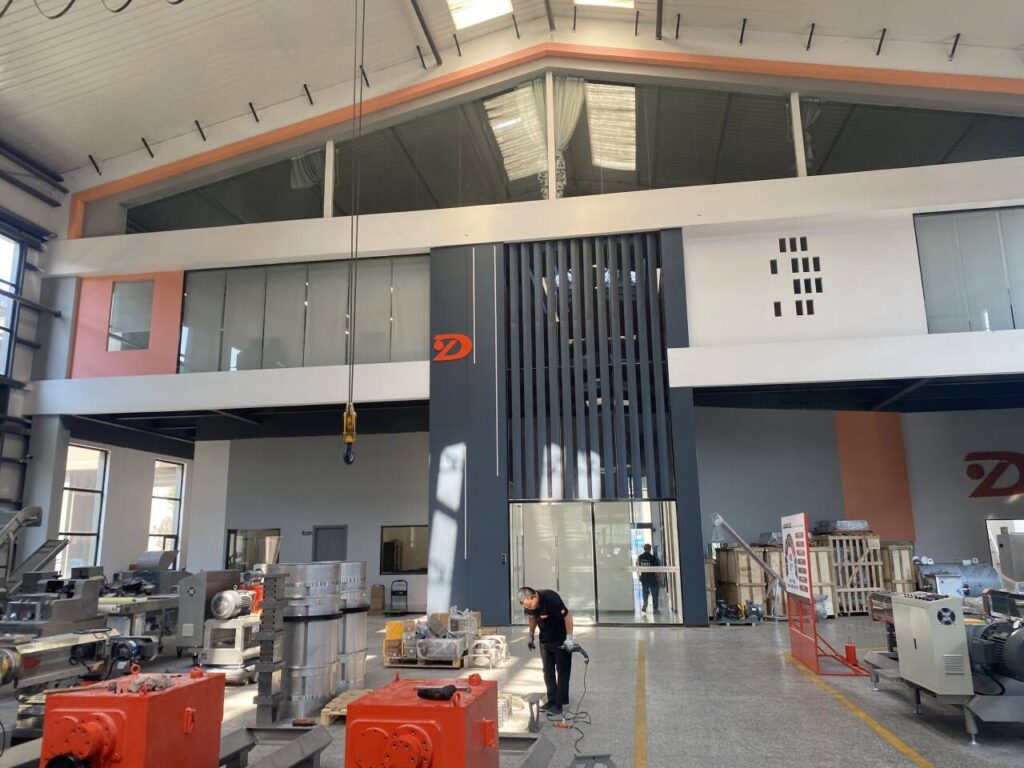
Troubleshooting the Line: Common Processing Issues in Dry Dog Food Manufacturing and Their Solutions
Despite the sophistication of modern extrusion systems and PLC-controlled automation, the production of dry kibble remains a complex interplay of raw material variability, mechanical wear, and thermodynamic sensitivity. Even minor deviations in moisture, temperature, or ingredient quality can cascade into significant product defects. This article presents a systematic, problem-solution guide to the most frequently encountered operational challenges during the manufacturing of extruded canine diets.
1. Problem: High Fines and Excessive Kibble Breakage
Symptom: A high percentage of dust and broken pieces (“fines”) are present at the packaging stage, leading to customer complaints and reduced palatability.
Root Causes:
- Incorrect particle size distribution after the grinding step (too coarse or too fine).
- Insufficient starch gelatinization during extrusion, resulting in a weak internal structure.
- Over-drying in the post-extrusion dryer, causing the kibble to become brittle and “case-hardened.”
- Aggressive conveying through high-speed pneumatic transfer systems.
Corrective Actions:
- Grinding: Adjust hammer mill screen size to the optimal specification (typically 1.0–1.5 mm for cereal grains). Conduct a sieve analysis to ensure uniformity.
- Extrusion: Increase the specific mechanical energy (SME) by adjusting screw speed or barrel temperature to elevate the gelatinization degree above 85%. Reduce die pressure if the product is too dense.
- Secagem: Lower the inlet air temperature in the first drying zone to prevent rapid surface moisture evaporation. Implement a tempering zone to allow internal moisture to migrate outward before final drying.
- Handling: Reduce conveying air velocity and install gentle transfer elbows to minimize mechanical impact on fragile kibble.
2. Problem: Uneven Expansion and Inconsistent Kibble Size/Shape
Symptom: Kibble pieces within the same batch show significant variation in length, diameter, or “puff” ratio, affecting both visual quality and density.
Root Causes:
- Non-uniform mash moisture content entering the extruder (fluctuations in pre-conditioner steam or water addition).
- Worn or partially blocked die plate orifices, causing differential flow rates.
- Inconsistent rotational speed of the die-face knife, leading to variable cutting lengths.
- Fluctuations in the feed rate to the extruder.
Corrective Actions:
- Pre-conditioner: Calibrate water and steam flow meters weekly. Verify that the paddles are not worn and are creating a homogeneous mash bed. Maintain mash temperature at a stable set point (± 2°C).
- Die Maintenance: Implement a scheduled die-plate cleaning protocol (using a rotary brush or burn-off oven) to clear carbonized residues. Replace worn dies when the land length deviates by more than 0.2 mm from the original specification.
- Knife Synchronization: Adjust the knife speed relative to the extruder screw speed using a variable-frequency drive (VFD) to maintain a consistent cut length.
- Feeding: Ensure the loss-in-weight feeder is functioning correctly and that the mash does not bridge or arch in the hopper.
3. Problem: Mold Growth or Spoilage During Storage
Symptom: Visible mold colonies on kibble within weeks of packaging, or off-odors (musty/sour) developing before the expiration date, despite low moisture content.
Root Causes:
- Final moisture content exceeds the 10% threshold, elevating water activity (Aw) above 0.6.
- Uneven drying: Central pieces retain higher moisture while peripheral pieces are dry.
- Failure of the Modified Atmosphere Packaging (MAP) system – residual oxygen (> 3%) in the bag.
- High ambient humidity during packaging, causing moisture re-absorption by the warm kibble.
Corrective Actions:
- Dryer Profiling: Conduct a transverse moisture profile across the dryer belt using a near-infrared (NIR) sensor. Adjust air-flow distribution to eliminate “cold” or “wet” zones.
- Arrefecimento: Ensure the final cooling section brings kibble temperature down to within 5°C of ambient room temperature before packaging. Warm kibble creates condensation inside the bag.
- MAP Verification: Install an online oxygen analyzer in the bagging line. Increase the nitrogen purge time to ensure residual O₂ is ≤ 2%.
- Preservative Check: Verify that the added antioxidants (e.g., mixed tocopherols, ethoxyquin, or BHA) are within the specified dosage range and have not degraded due to heat.
4. Problem: Inadequate Palatability or Off-Flavors
Symptom: Dogs show reduced consumption during feeding trials, or the kibble has a bitter, burnt, or rancid aftertaste.
Root Causes:
- Excessive extrusion temperature (> 180°C) leading to the Maillard reaction progressing too far, producing bitter compounds.
- Oxidative rancidity of fats due to elevated drying temperatures or insufficient antioxidant inclusion.
- Cross-contamination of palatant coating systems with residual cleaning agents or degraded liquid digest.
- Use of raw ingredients with pre-existing rancidity (e.g., old fish meal or low-quality fats).
Corrective Actions:
- Thermal Control: Reduce barrel temperature in the final metering zone. Implement a “cooling screw” segment before the die to lower melt temperature without sacrificing pressure.
- Fat Quality: Increase the inclusion rate of synthetic antioxidants (e.g., TBHQ) or switch to a more stable fat source. Store bulk oils under nitrogen blanket.
- Sanitation: Implement a strict CIP (Clean-In-Place) regime for coating drums to prevent build-up of old, polymerized palatants that impart off-notes.
- Incoming QC: Tighten specifications for peroxide value (PV) and anisidine value (AnV) of raw fats to ensure they are fresh.
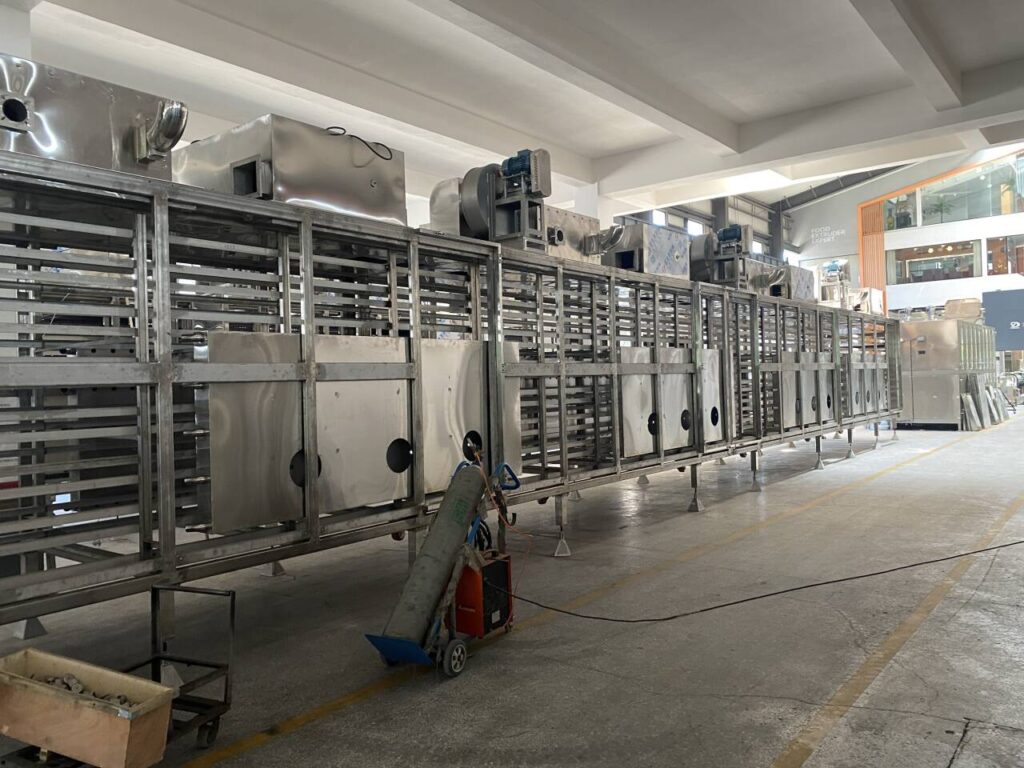
5. Problem: Extruder Motor Overload and Screw Wear
Symptom: The extruder’s main drive motor draws excessive amperage, frequently tripping the overload protection, or the screw elements show premature wear.
Root Causes:
- High viscosity of the mash due to low moisture or high protein content (proteins increase friction).
- Blockages in the die plate, causing back-pressure to spike.
- Worn screw elements reducing the conveying efficiency and creating localized “dead zones” where material compacts.
- Inconsistent raw material grind size—large particles increase mechanical resistance.
Corrective Actions:
- Formula Adjustment: Temporarily increase moisture injection in the pre-conditioner to reduce melt viscosity. Reduce the inclusion of highly fibrous ingredients (e.g., soybean hulls) that increase shear.
- Die Maintenance: Perform a “pressure drop test” to identify blocked die holes. Unblock using a specialized drill bit or replace the die plate.
- Screw Inspection: During scheduled shutdowns, measure the outer diameter of screw flights. Replace worn flights when wear exceeds 1.5 mm to maintain compression ratio.
- Grinding Consistency: Ensure the hammer mill is equipped with properly sharpened hammers to produce uniform particle size, preventing “lumps” from entering the extruder.
6. Problem: Fat Migration and Greasy Kibble Surface
Symptom: Kibble feels excessively oily or greasy to the touch, causing clumping inside the bag and an unattractive appearance.
Root Causes:
- Over-coating of liquid fats beyond the absorption capacity of the porous matrix.
- Insufficient vacuum or retention time during the vacuum coating step, meaning fat remains on the surface rather than being drawn into the pores.
- Using a fat that is liquid at room temperature, whereas a more saturated fat (higher melting point) might be required.
Corrective Actions:
- Coating Ratio: Reduce the total fat application rate to match the specific surface porosity of the kibble (typically 10–18% fat by weight, depending on the recipe).
- Vacuum Optimization: Increase the vacuum holding time from 30 seconds to 60 seconds to enhance capillary absorption. Check for vacuum leaks in the seal ring.
- Fat Blending: Combine liquid oils with more saturated fats (e.g., tallow) to raise the melting point to 35–40°C, ensuring the fat solidifies at room temperature and stays inside the pores.
Conclusão
Effective dog food manufacturing relies not only on high-quality ingredients and precise recipes but also on the operator’s ability to diagnose and respond to real-time process deviations. Issues ranging from brittle kibble to microbial spoilage are rarely rooted in a single cause; they are often systemic interactions between mechanical settings, raw material characteristics, and environmental conditions. A proactive maintenance schedule, rigorous raw-material testing, and continuous monitoring of key parameters—die pressure, moisture content, and motor amperage—remain the industry’s best defense against product failure. By systematically addressing these common problems, manufacturers can ensure the consistency, safety, and palatability that both pets and their owners expect.