The journey from a simple grain of corn, wheat, or rice to a crispy, golden puff is a fascinating blend of food science and culinary engineering. While it may seem like magic, creating the perfect bowl of puffed cereal relies on a precise set of techniques. Whether you’re a food science student, a home cook experimenting with DIY cereals, or simply a curious consumer, understanding the core principles of drying and puffing can deepen your appreciation for this breakfast staple. Here are the key techniques involved.
1. The Critical Role of Moisture Content
Before you can puff anything, you must first understand moisture. The entire process is a carefully orchestrated battle between water and heat.
- O objetivo: You want a grain with a high internal moisture content but a dry, sealed exterior. The internal water is the “fuel” for the puff. When heated rapidly, this water turns to steam, and the pressure builds until the grain explodes, expanding its starch matrix.
- The Technique: Tempering. This is the first and most crucial step. The grains (like rice or wheat) are soaked or steamed to raise their moisture content to around 25-35%. Then, they are “tempered” or rested for hours. This allows the moisture to distribute evenly throughout the grain, not just on the surface. An unevenly hydrated grain will puff poorly—one side will be soggy while the other remains hard.
2. The Drying Phase: Setting the Stage
You can’t puff a wet, soggy grain. The drying phase is about creating a “shell” that will trap the steam.
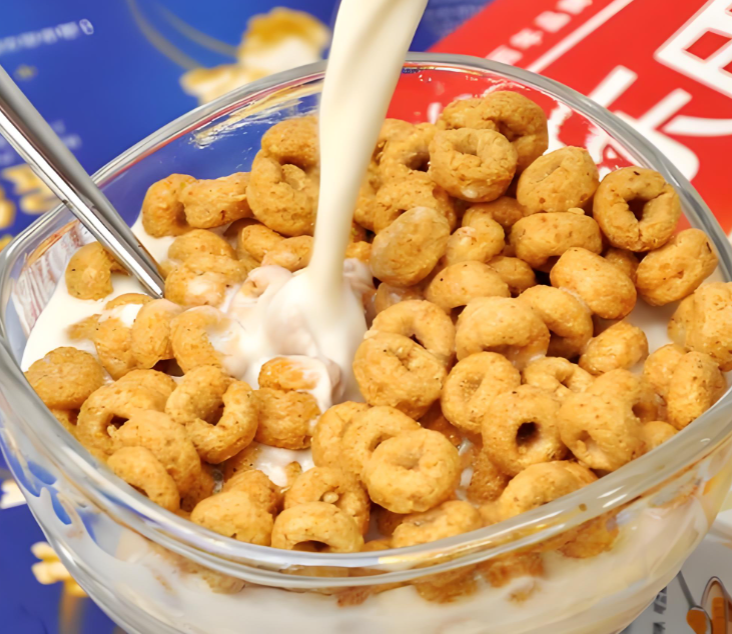
- Technique: Hot Air Drying. The tempered grains are passed through a hot air dryer. The goal here is not to dry them out completely, but to remove surface moisture and firm up the outer layer. The grain should be dry to the touch but still plump and moist inside.
- The “Case Hardening” Effect: This drying process creates a semi-permeable, rigid outer shell. This is essential. If the shell is too soft, the steam will simply leak out. If it’s too hard, the grain won’t expand. Finding the sweet spot is a key industrial skill.
3. The Puffing Techniques: The Moment of Transformation
Once the grains are properly tempered and dried, they are ready for the main event. There are several methods to achieve the puff.
A. Oven Puffing (High-Temperature, Short-Time)
This is a common method for home cooks and some industrial processes.
- O processo: The dried grains are spread in a thin layer and placed in a very hot oven (e.g., 400°F / 200°C) or under a broiler.
- The Science: The intense, dry heat rapidly converts the internal moisture to steam. The pressure builds, and the starch matrix expands. The key is to keep the grains moving to ensure even heating and to prevent burning.
- Technique Tip: A light coating of oil or a sugar syrup before baking can help the grain brown and crisp, but it can also inhibit puffing if applied too thickly.
B. Gun Puffing (Explosion Puffing)
This is the classic method used for puffed rice and wheat.
- O processo: The prepared grains are sealed inside a thick, rotating metal cylinder (the “gun”). The gun is heated over a flame. Inside, the pressure and temperature rise dramatically (to about 200 psi and 400°F / 200°C).
- The Science: The high pressure prevents the internal water from boiling. When the lid is suddenly released, the pressure drops instantly to atmospheric. The superheated water inside the grain flashes into steam violently, tearing the grain apart from the inside out and expanding it to many times its original size.
- Technique Tip: This is a dramatic and dangerous process. The timing of the release is critical—too early, and the grain is undercooked; too late, and it burns.
C. Extrusion Puffing (For Cereal Puffs and Shapes)
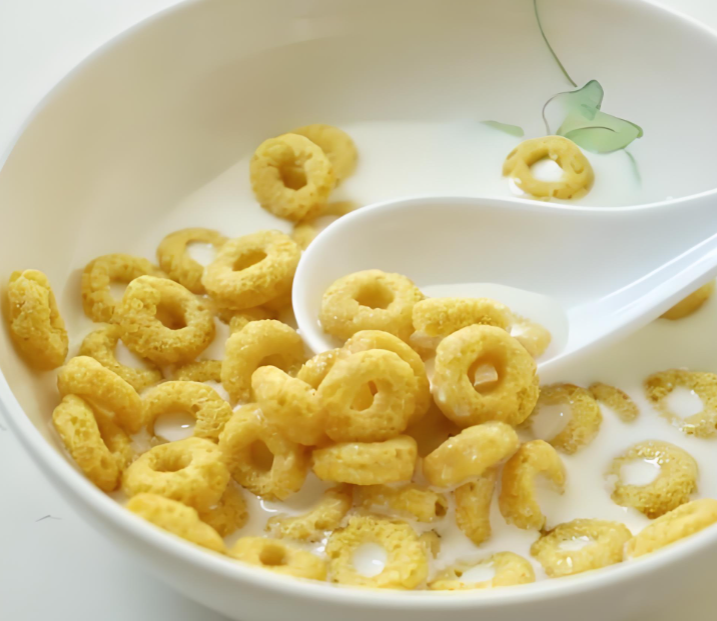
This is the most common modern method for making cereal puffs, loops, and other shapes.
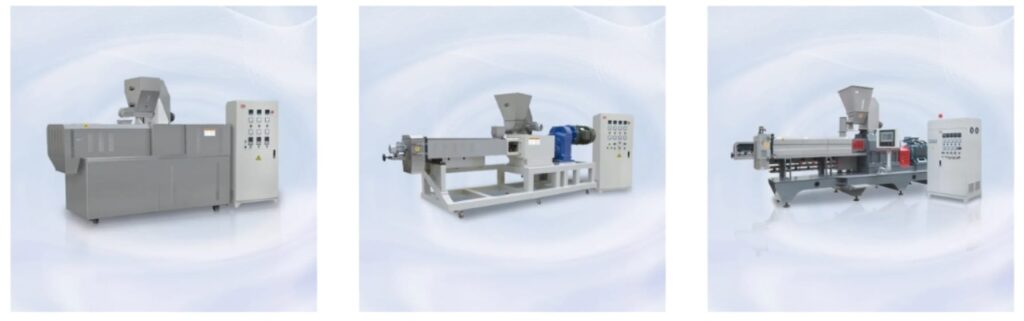
- O processo: A dough made from grain flour, water, and other ingredients is fed into an extruder. The extruder uses high pressure and heat to cook the dough. It is then forced through a die (a shaped hole) at the end.
- The Science: As the superheated dough exits the die, the sudden drop in pressure causes the water in the dough to flash into steam. This instantly expands the dough into a puffy, lightweight shape. A rotating knife cuts the extrudate into the desired size.
- Technique Tip: The texture of the final product is determined by the formulation (e.g., starch type, sugar, and fat content) and the extrusion parameters (temperature, pressure, and screw speed). A higher temperature generally leads to a lighter, crisper puff.
D. Fluidized Bed Puffing (For a Gentle, Even Puff)
This method is used for more delicate grains or for coating.
- O processo: Grains are placed in a chamber with a perforated bottom. Hot air is blown upward through the perforations, causing the grains to float and tumble like a boiling liquid.
- The Science: The hot air provides both the heat for puffing and the motion for even drying and roasting. It’s a gentler process than gun puffing, resulting in a more uniform, though often less dramatic, puff.
4. Post-Puffing Techniques: The Finishing Touches
The puff is not the end of the story. To make the cereal shelf-stable and delicious, more steps are needed.
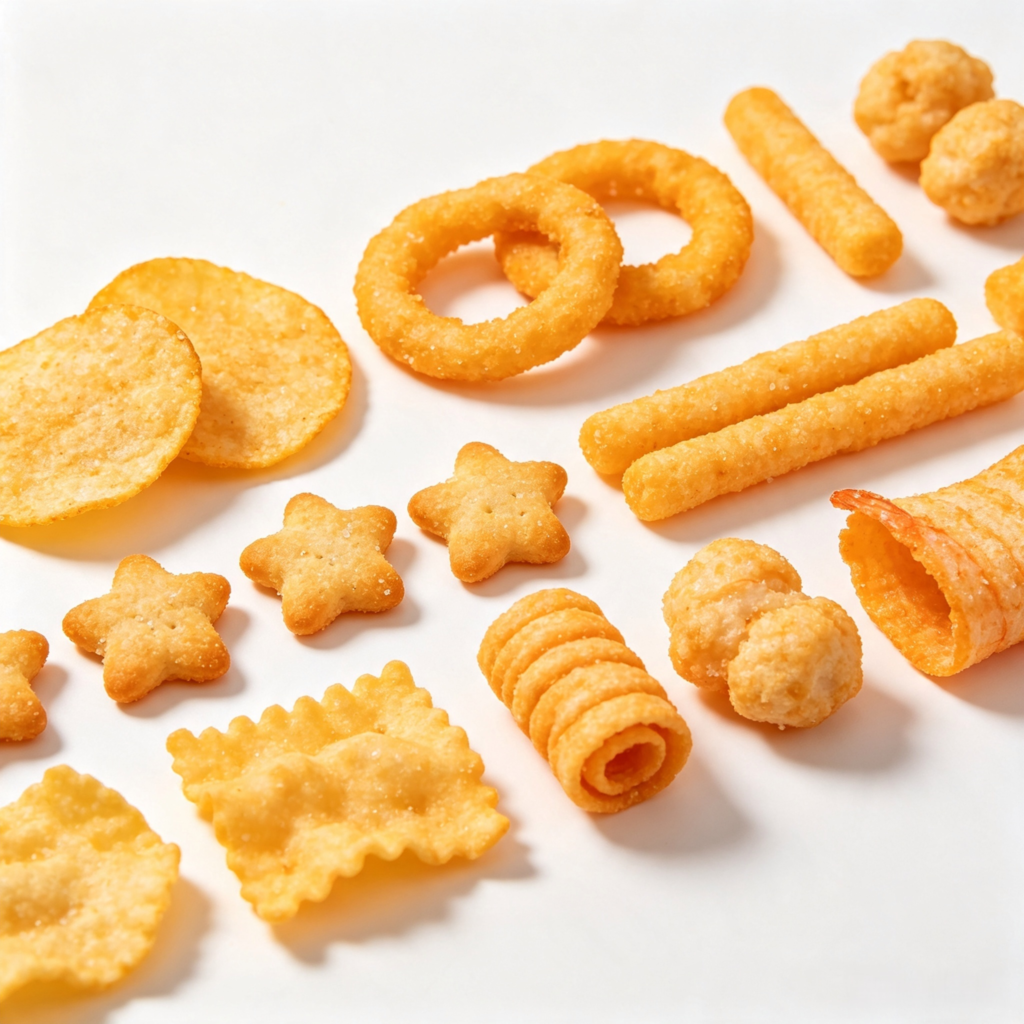
- Drying/Cooling: The puffed grains are still somewhat moist. They are immediately dried again in a lower-temperature oven or a fluidized bed to remove the remaining moisture. This is critical for crispness e shelf life. If they are packaged while still warm and moist, they will become soggy.
- Revestimento: This is where flavor and nutrition are added. A sugar or honey syrup is often sprayed onto the puffs in a rotating drum. A light dusting of vitamins and minerals can also be added.
- Fortificação: Many commercial cereals are fortified with vitamins and minerals. This is typically done as a spray or powder coating after puffing, as the high heat of the puffing process can destroy some nutrients.
Conclusão

Creating the perfect puffed breakfast cereal is a delicate dance of moisture, heat, and pressure. From the slow, even tempering of the grain to the explosive release of a puffing gun or the precise engineering of an extruder, each step is a technique honed by science and experience. The next time you enjoy a bowl of crispy puffs, you’ll know it’s not just a simple grain—it’s a testament to the art and science of food technology.